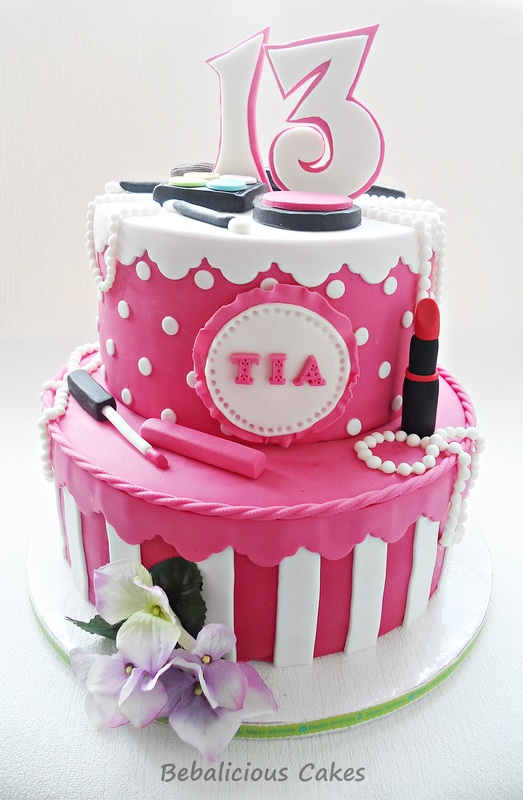
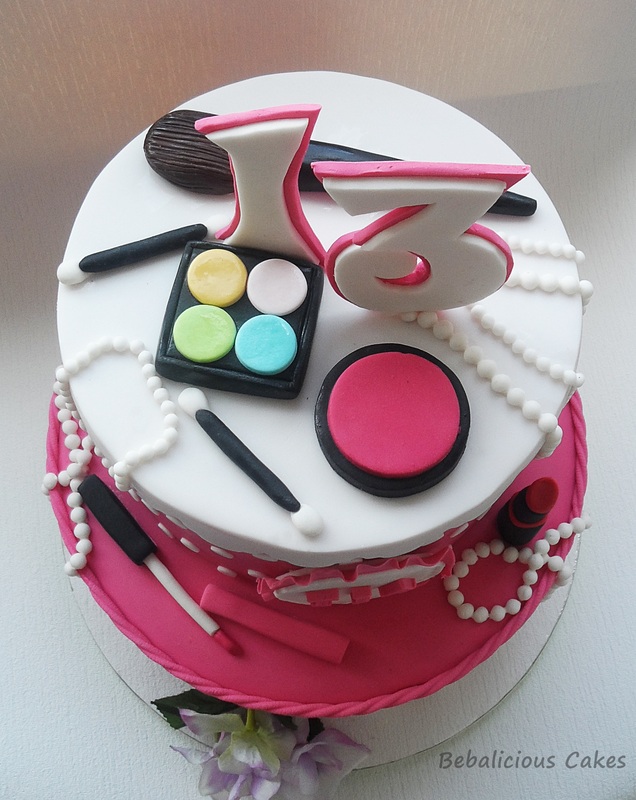
Sweet 13th Makeup Birthday Cake
|
The Story behind this Cake
Hi everyone. My name is Beba and I have been a cake designer for the last four years. This is my first blog. So bear with me.
I was lucky enough to be chosen by Share a cake to write a few words about this cake. The cake was made for a young girl turning 13. The inspiration for this cake was the colour pink and make up. That was all the information I was given by her mum. But I knew the girl and that helped me significantly. She is a very nice person, and is open and lively. Subsequently that was also the reason for the choice of colours. Still however I wanted to keep it simple in choice of colours so the cake doesn't look too busy. Thinking about it I came up the idea of stacked boxes decorated with loads of different types of makeup. The flavour of the cakes was chocolate. The cake was filled with praline and covered in ganache and fondant. My choice of fondant is Cava paste. You can buy it here in UK in almost all cake decorating stores. The decoration I did on first tier is simple stripes that were cut with pizza cutter, the width depending on the circumference of the cake. The top of the cake box is trimmed with border cut with PME border cutter. The first tier is 10” and 4” deep and the second tier is 8” also 4” deep. I like deep cakes because it gives me more space to decorate and the look is better in my opinion. For the second tier, I have used the polka dot stencil to mark the places for the dots. It is fantastic bit of equipment to use for creating accurate measurements. I have bought mine on www.ebay.co.uk. The edging on the 2 tier is also made with border cutter from PME. It is really cheap to buy and you get a couple different styles. On the first tier have used the rope style edging and that is made with the fondant extruder tool. It is a Fantastic piece of equipment to have in your tools. I prefer the one with the screw mechanism because it is easier to use. You can buy it on eBay. But make sure to use mixture of 50/50 fondant gumpaste. It is the best for extruding neat shapes. The stacking of the cake is done in traditional style with dowels. But instead of dowels I use thick straws. It is much cheaper and it does the job just the same. I get mine from IKEA. The makeup on the cake is made free hand. To do this I had downloaded some photos of essential makeup related item and observed them to create the items as realistic as possible. The mixture for the makeup is fondant and tylo powder. I could not live without it. It is fine powder and I use it for all kind of modelling jobs, also using it in making gum paste. You can find a reliable and easy recipe on Craftsy .This certain recipe was created by Nicholas Lodge. Step by Step How to Make Numbers The number 13 is cut out with the exacto knife and again fondant with tylo powder. I use 1 pound of fondant with the ½ TSP of tylo powder. I had kneaded it well and let it rest for couple of hours. Here is how I made the numbers -First of all in internet I look for the numbers that I like. -Then I print it out in desired size and cut out the shape. -After I've rolled out the fondant fairly thick, I use some vegetable shortening to stick the cut out onto it -Cut out. Second layer is larger and you can cut it out slightly larger after you have stuck the first layer on top. If you want the numbers on top of the cake, sandwich the wooden stick between the two pieces of fondant. - Let the numbers dry out for a few days. The little flower are out of silk. Unfortunately I didn’t have a time to make some and the cake did miss something. So the quick fix was to use what I have got. But if you ever want to learn how to make extraordinary beautiful flowers do visit Craftsy and buy the course from Jaqueline Butler and Nicholas Lodge. I have done them and they are worth every penny! And there you go. The job was done. The main thing my customer was soo happy. Share a cake by Bebalicious Cakes |
Must Have for this Cake
|
|
|


