
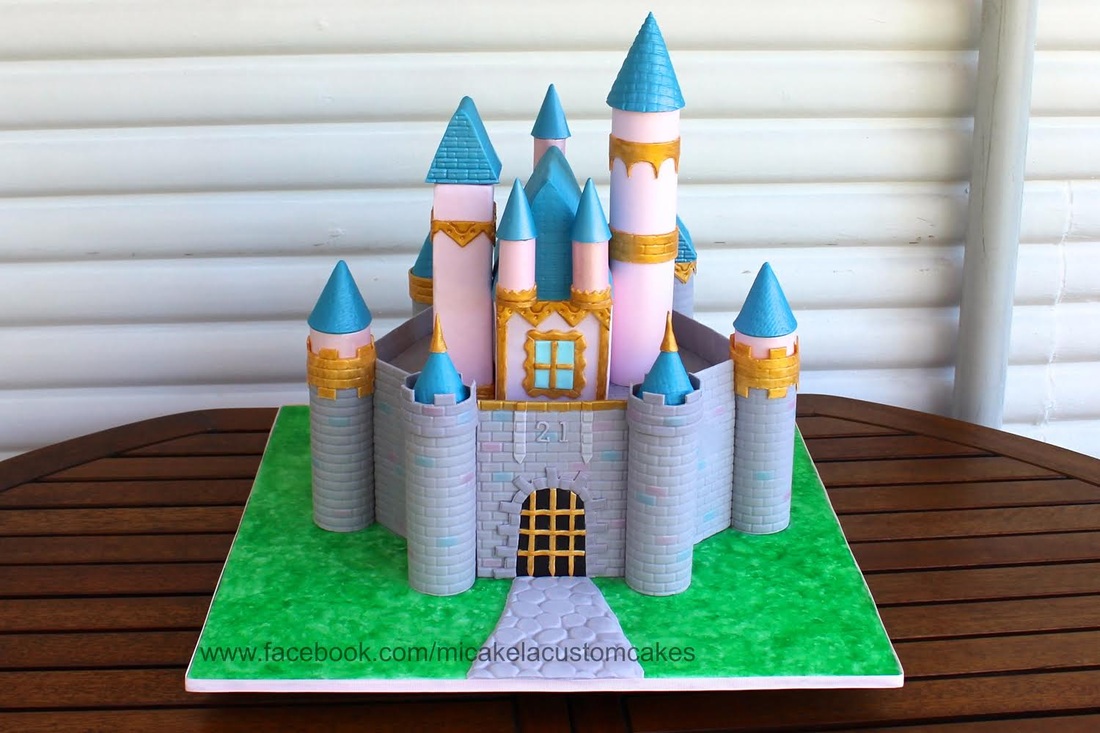
Disneyland Castle cake

|
The Story behind this Cake
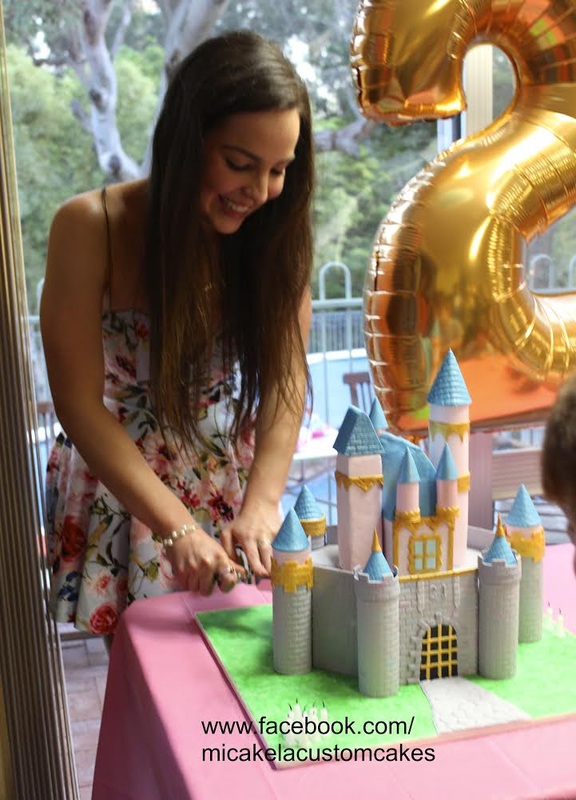
I have been dabbling in the world of cake decorating for about two years now, so when my own 21st rolled around recently I knew that it was my chance to try something a little out of my comfort zone, and make something that I may not get the chance to do otherwise.
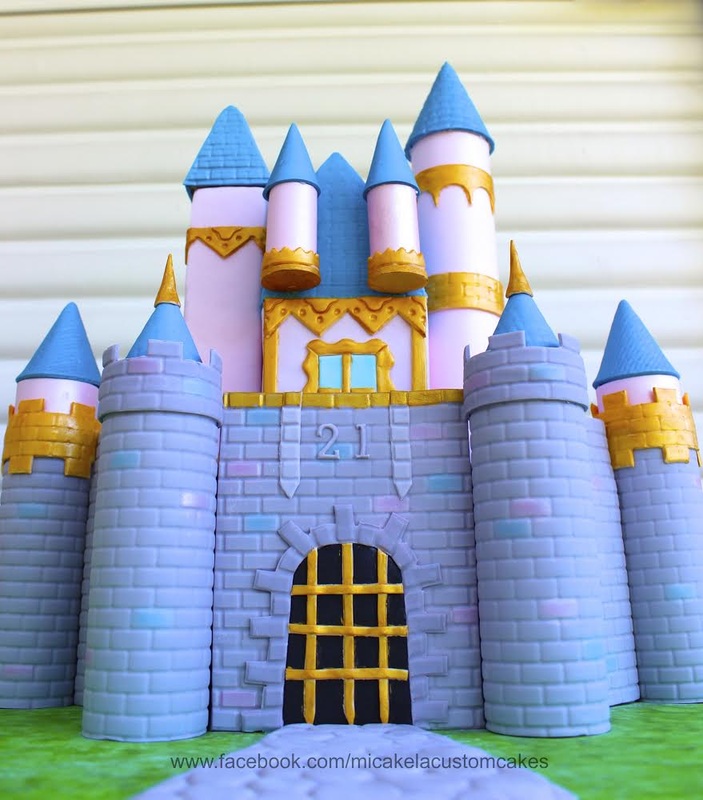
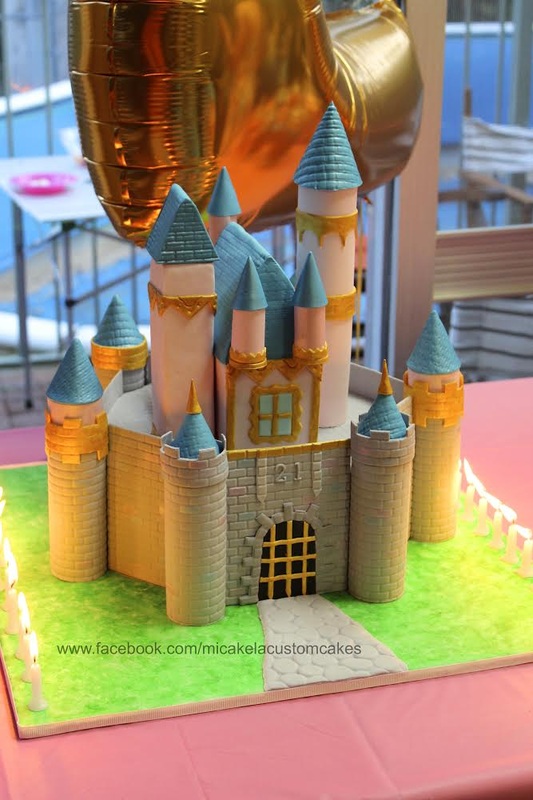
I wanted the cake to be something completely different to anything I had done yet, and also to be something personal. I tossed a few ideas around in the back of my mind for a couple of months, but I kept ending up back at the same idea… I wanted the Sleeping Beauty's castle from Disneyland California! I live in Sydney, Australia - so Disneyland isn't exactly around the corner. I first visited Disneyland California when I was four years old, and it has remained my "happiest place on earth" ever since. In the years that followed, I revisited California again, and ticked Florida, Tokyo, and Paris off my "Disneyland list" too, but there always remained something special about the original in California. The castle also had a poignant significance to me for my 21st birthday, as it was to be my first birthday without my Pa, who sadly lost his fight with cancer last year. When I walked through the Disneyland castle for the first time at the age of 4, he was by my side, travelling on the trip with us. Although I had finally decided what the cake was going to be, the hard part was yet to come! This cake was very different to any cakes I had done yet, and required a lot of careful planning. Google wasn't very helpful - I found quite a lot of cakes based off Cinderella's castle in Disneyworld Florida, but hardly any based off the castle in California! I found only two; the first from Cuteology Cakes (I even contacted Alyssa to ask her permission to use this cake as inspiration, and she kindly agreed!) and the second from a blog called "Delectable Cakes" . So, I set off armed with both of these cakes, some inspection of the castle on Google Earth, study of a Disneyland snow globe I have, and my own poetic license as inspiration! I initially started by drawing up blue prints, and a trip to the hardware store to buy some wooden board and PVC piping. I then enlisted the help of my handy Dad to cut some board into the shape of the base of the castle, and cut the PVC pipe into smaller lengths. When we cut the wooden board, we used a jigsaw cutter to cut out small semi-circles where the turrets would sit, as I wanted them to sit into the cake rather than just against the cake - just like the real castle! I then set about drying fondant mixed with tylose around the PVC pipes in various heights (which I had determined in my blueprints!). Once dried, the PVC piped were removed and the turrets were freestanding. The next step was ganaching the cake. The entire base of the castle was made of cake, as was the small centre house on the top tier, and both were ganached. The base was 12 inches at it's widest, so it wasn't a small cake! When the ganache had set up over night, I began covering the cake. I started with the base, using the "wrap method" to cover the castle sides in plain icing, and then the top with grey fondant imprinted with bricks. I then got my fondant/tylose mix and cut brick-imprinted panels which were carefully measured to reach the edge of each turret and jut up one inch above the cake itself. The tylose meant the walls held their shape and dried sticking up above the cake. This was the trickiest part, and I thought long and hard about the best way to get the walls to stand up straight. I was really happy with the way it worked out, and the walls could be removed before serving so everybody got soft fondant and no hard walls! I then covered the little house on top in the pink and blue in pieces, being careful to try and make my seams clean and inconspicuous. The large square pink turret on top, as well as it's square roof and the square roof on the back right turret were made from rice krispie treats. This was my first time making homemade RKT and modelling with them. I was really impressed with their versatility, and they tasted so yummy - so I don't think it will be my last time using them! The board was a 19" square and entirely hand painted, as were all the gold accents. The hand painting was one of the most time consuming parts, and I could have spent many more hours adding little details here and there - but time constraints meant I had to stop somewhere! I used my Dinky Doodle airbrush to give all the pink and blue a beautiful sheen. It's so easy to use and really makes a difference! The scariest part of this cake came when I was ready to "fit it all together" like a puzzle! I had made all the parts of the cake separately so I was very nervous about whether they would come together seamlessly in the end. It turns out that being a bit of a maths geek paid off, and all my measurements lined up perfectly! The whole process of this cake took place over about 5 days, around uni and other "real life" commitments, and I finished it at about midnight the night before we needed it. Until I had the ribbon around the board, I was not convinced it was going to work! It seemed like such a crazy idea when I first set out to make it, and I was so relieved that it turned out (mostly) how I had envisaged it! Sitting back and reflecting on the process of idea-to-cake is probably my favourite part of cake decorating. I love a challenge, and what better challenge than turning your crazy ideas scribbled on a scrap of paper into an edible reality! The cake is long gone, sliced into many pieces and in the bellies of my friends and family, but I think I'll be hard pressed to make a cake in the future that means more to me than this one! I hope you enjoy it as much as I enjoyed making it. Share a cake by Micakela |