
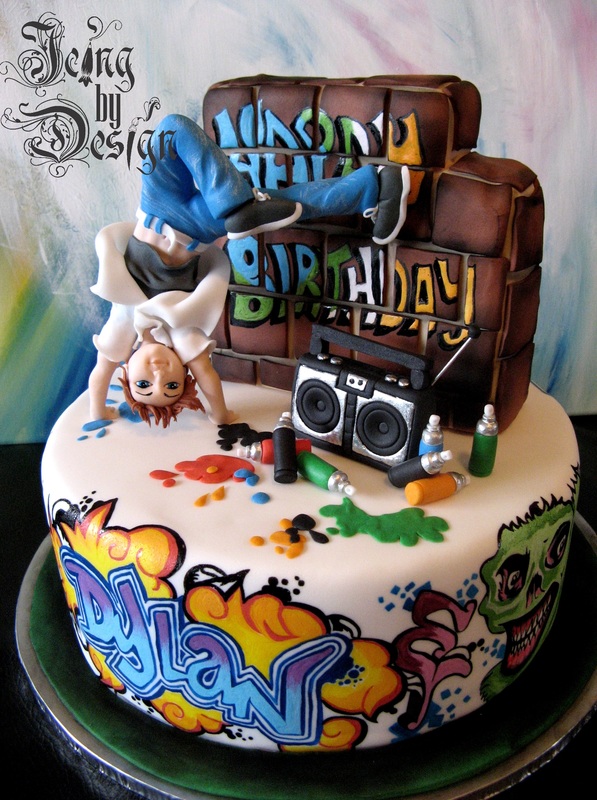
Graffiti Birthday Cake
Click to Join this Free Course by Craftsy
|
The Story behind this Cake
It is a handpainted graffiti cake that took roughly 14 hours to complete.
The graffiti cake was ordered by an old friend for a boy. I was sent many reference photo's as she is a graphic designer and did a lot of researching before ordering. 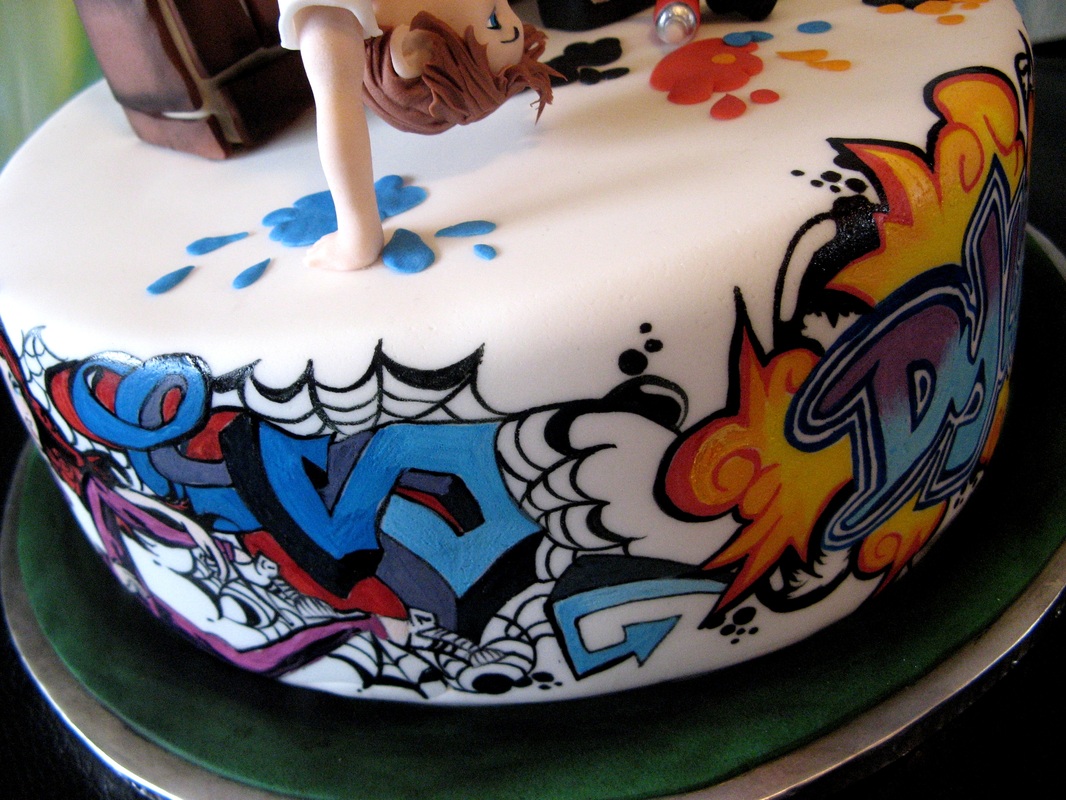
The cake was baked by my close friend Gina Waterhouse. She does all my baking and it was a choc sponge. Her cakes are divine. The cake is covered with ganache and then plastic icing. I only cover on ganache!! Gone are the days of buttercream, especially when it comes to shaped cakes. The wall is polystyrene covered with icing but you could use rice krispie treats etc depending on budget. I used gel colours to hand paint the graffiti...this took hours...and I mean hours! I always mix a little of the white gel with any other colour I use as this gives an even finish and I don't land up with streaks. Any good quality soft bristles for brush is good. I believe your tools have to be of good quality as this will show in your work. For painting fine lines I trim most of the hairs of a small brush with a scissor. I was careful to change shapes and colours when copying graffiti. The wall was ivory covered and then I stuck on light brown squares, then I dusted with Rolkem powders. Finally painting over that to say happy birthday. My figurine has an internal structure to keep it upright. All my modelling is done by hand and I never use moulds. I like to practice my eye and youtube sculpting video's to learn more about the human form. My eyes are always painted with a fine brush. The jeans look I got by making blue pants and then dry brushing white onto it, this gives a stone washed effect. I will share my paste recipe as I think it is important to have a good modelling paste:
Share a cake by Icing by Design |
Must Have for this Cake
|
|
|
|
|
|